Showing posts with label Sleek. Show all posts

Wednesday, 7 January 2015

What's In My January Make Up Bag


Hey guys, today I am doing a beauty post for you! As you can probably tell by the title this is my January make up bag contents. New year, new face is my motto. Hope you enjoy... 


The make up bag itself was actually a Christmas present from my dad (obviously) from Victoria's Secret. I must say when you work for VS you see so many products you want that when you get home that is all you can talk about, when I first saw this I loved it and mentioned to my family that I would like it. This is a limited addition make up case as it is a fashion show product so they are only around for a limited period of time. I am lucky I got first dibs!


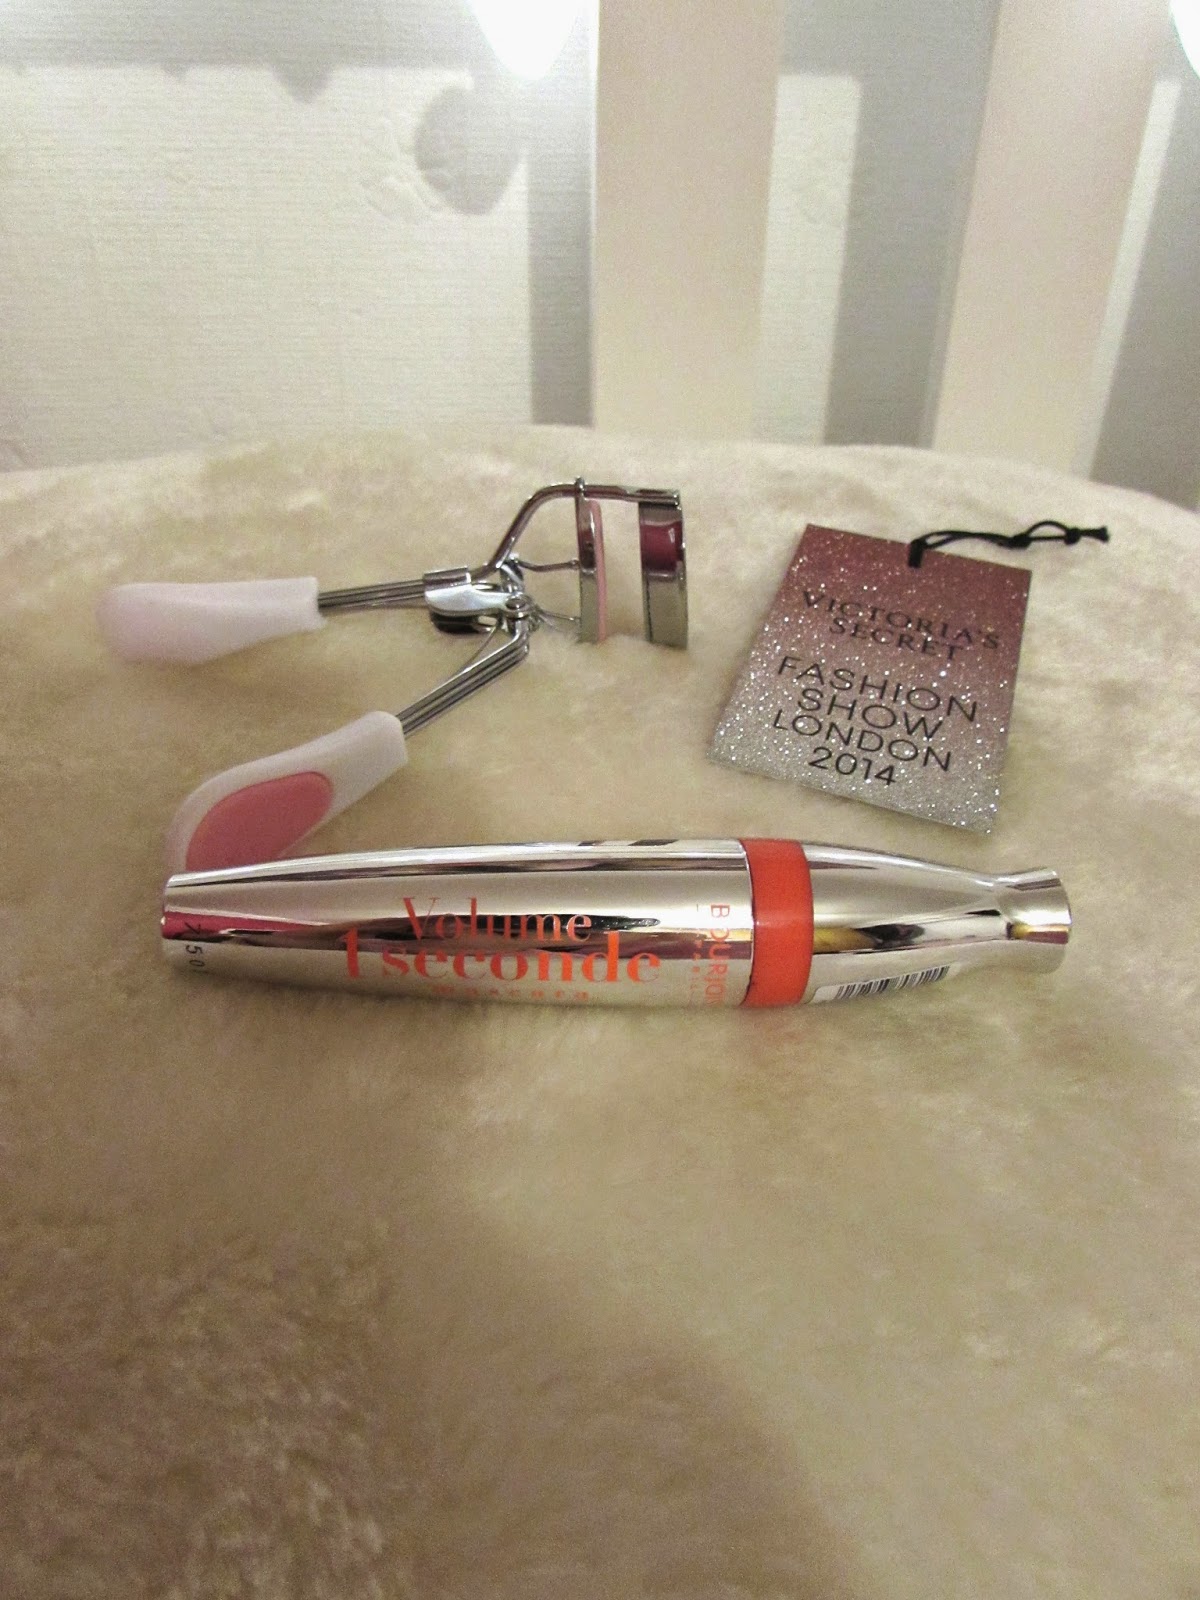
Bourjois Volume 1 Seconde Mascara - This mascara I have to say has been in my make up bag since I started blogging last year. It is by far my favourite mascara and believe me, I have tried many!
My eyelash curlers are actually from Primark for £1 and they are also the best I have ever owned. 


Sleek Brow Kit in Light - Again, this has been in my make up bag since I started blogging, but what can I say? It is such a great eyebrow kit and has lasted for ages! You seriously can't go wrong it keeps my eyebrows looking fuller, shaped and darker throughout the day.


Now, some new additions to my new make up bag -


These lipsticks in my opinion are the best sort of shades to kick start a new year. We are still in Winter and these darker shades of purple and pink are just right. 

Swatches - 


Top - MAC Girl About Town
Bottom - Kiko Orchid


The L'Oreal Super Liner is my ultimate eye liner. I adore this product and this will be in my make up bag forever! It creates the perfect cat eye for day and night time. 

I only use the Rimmel Kohl Eye Pencil if I am going to a special dinner with family or friends. Throughout the day I don't really use it as I think it can make my make up look a bit to heavy. However, at night time it gives a little something extra. 


For the Rimmel Wake Me Up concealer I don't use this everyday nor the Collection cover up stick. I only use concealers if I really feel I have to. For example, I had to work New Years Day this year and after New Years Eve, using concealer is a necessity haha!

A new product to my January Make Up bag, the Simple Corrector Pen. I absolutely love this product as any mistakes I make with my make up, for example if I go a little to high with my cat eye flick this simply wipes it away and basically corrects it! It is seriously a gift from god.

That has brought you to the end of this blog post...

I really hope you enjoyed this post and has given you some ideas for the perfect face this month! 

Please don't forget to follow me on all my social media links which are located on my side bar. 

Have you got anything new in your January Make Up Bag? Feel free to leave comments! 

Love, Melissa Victoria x

Tuesday, 30 September 2014

Winged out eyeshadow look tutorial!

Hey guys, so today I am doing something a little bit different as I am going to be doing a make up look tutorial. Just to add a disclaimer, by no means am I a professional make up artist. This is simply a make up look that I wear very often and want to share it with you guys!
So, to start off with I am going to show you an overview of what make up products I am going to be using for this tutorial...


Step 1 - Moisturise your face. This step (to me) is very important, because if you are like me and have very dry skin, the most horrible thing is going out with a full face of make up and being able to see dry skin on your face. The moisturiser I use is...


I believe this moisturiser is my all time favourite, The one thing I cannot stand about moisturisers is when they are so sticky and thick that you can feel it on your skin all day. However, this one sinks into your skin in a matter of minutes and keeps it feeling moisturised all day.
All I do with this product is take out a pea sized amount and dot it all around your face, then rub it in gently until it is all rubbed in. 

Step 2 - Eyebrows. The product I use to do my eyebrows I believe I mentioned in my Everyday make up routine. It is the Sleek palette in 'Light'

In this product, I only use the powder part of the pallet as the other is wax and I don't really need to use the wax as I get my eyebrows shaped professionally. So what I do is simply dab the applicator into the pan and apply the powder on the brush onto my eyebrows. I start form the inner part of the eyebrow and then just follow my shape. 

Step 3 - Concealer. Most of you will know that I do not normally wear concealer or foundation. Unfortunately I have recently started developing dark under eye circles, so I had to turn to concealer for help! The concealer I use is the Rimmel 'Wake Me Up' anti fatigue effect + a radiant glow. 

For this product, it comes with a doe foot applicator which is extremely helpful. I simply draw three small lines under the eye and rub it in gently with my finger. Voila! Goodbye bags! 

Step 4 - Eyeshadow primer. For the eyeshadow primer I use the Urban Decay 'Eyeshadow Primer Potion'. I swear by this primer as it keeps my eyeshadow in place all day. 

When I am going to use this product I squeeze a small pea sized amount and smoothly wipe it over each eyelid so that it all sinks in. 

Step 5 - The eyeshadow step! So for this winged eyeshadow look I am going to be using MAC's 'Girlie' and 'Woodwinked'. I know you may notice I have not yet added any more eyeshadows to my palette but that is because I am waiting to go back to Florida as there certainly is a difference in price haha! These are the eyeshadows - 


The top one is Girlie by MAC and the one underneath is Woodwinked by MAC. I apply Girlie first all over both lids with a MAC 239 brush...


Then, using woodwinked draw a line where you would like your wings to go.


To complete the wing part, just simply fill in the gap you have left still using the 239 brush and woodwinked eyeshadow...


Step 6 - Eyeliner & Eye pencil. For on top of the eye I use the Rimmel Black gel liner, and for the waterline I use the Rimmel Soft Kohl eye pencil. 

When using the gel liner, I simply draw a thin line on top of my eye lashes just to give more definition... 


Step 7 - Mascara. The mascara I use and love dearly is the Bourjois Volume 1 Seconde mascara. This mascara is my all time favourite! 

Firstly, I do curl my eyelashes with some eye curlers which I do believe I bought from Primark. I'm sure most of you don't need telling how to apply mascara haha. So apply any mascara that you own and that is one step closer to the end of the look! 


Finally to finish off, step 8 is lipstick! Personally, with this make up look I think a simple nude pink finishes it off perfectly. I am going to be using the Revlon Colorburst 'lip lacquer balm' in the shade 105 Demure. However, before that I apply the Burt's Bees nourishing lip balm with mango butter just to add moisture to the lips. 
This last picture is going to be the finished look...


I hope you have enjoyed this post and given you some insight on different make up looks that people are wearing at the moment! I would love to see anyone re-making this make up look's pictures you can email me them or even leave the links in the comment box. 

Thank you so much for reading...

Love, Melissa Victoria x